Derui chamber
A chair can arrive complete but still be unready for testing: the assembly instructions may be missing, the adjustment position may be unclear, or an earlier load test may have changed its condition. Resolve these details before loading starts so the results can be traced to the actual specimen and setup.
This furniture test sample preparation checklist is for manufacturers and laboratories planning mechanical tests on chairs, tables, sofas and mattresses. It also identifies where foam specimens need a separate preparation plan. It is a planning aid, not a substitute for a controlled test procedure.
Before dispatch
Agree the test scope, sample allocation and assembly requirements. Identify each specimen and photograph its condition.
At laboratory receipt
Check identity, transit condition, components and documentation. Record discrepancies before assembly or testing.
Before the first load
Confirm conditioning, configuration, fixture access and baseline observations against the approved test plan.
1. Agree the Test Plan Before Selecting Samples
Start with the product’s intended use, the required standard edition and the selected test items. A broad request such as “test this chair” does not define sample quantity, test sequence or acceptance criteria. Use the furniture testing requirements guide to organise the scope discussion, then obtain a specimen plan from the responsible laboratory.
- Identify whether the work is design development, production verification or an assessment against specified requirements.
- List the exact model, construction revision and configurations to be evaluated.
- Confirm which actions may share a specimen and which require separate or unused specimens.
- Agree how damage, deviations and replacement samples will be handled.
Do not assume that one product can be reused for every test. Prior loading may affect later observations, and the selected procedure may prescribe a sequence. Additional samples should be planned with the laboratory rather than added through an arbitrary universal sample count.
2. Give Every Specimen a Traceable Identity
Assign a unique sample ID and connect it to the model, production batch and drawing or bill-of-materials revision where available. State whether it is a prototype, production unit or deliberately modified development sample. A result on one construction should not silently be presented as evidence for a different version.
Photograph the whole product and relevant details before shipment. Record visible cracks, loose joints, uneven feet, surface damage and existing deformation. Labels should remain readable without covering a load contact point, moving joint or inspection area. Identify separate cushions, extension leaves, arms and hardware packs so components cannot be mixed between samples.
3. Assemble and Record the Test Configuration
Supply the manufacturer’s assembly and use instructions, required fasteners and any product-specific tools. Agree whether the laboratory receives an assembled unit or assembles it on arrival. Record the instructions used and any departure from them.
Do not add adhesive, substitute fasteners or tighten a joint beyond the specified assembly instructions merely to improve the result. If an assembly detail is missing, resolve it before testing. Retightening during a test should follow the applicable procedure and be recorded; it should not be an undocumented intervention.
Chairs and sofas
Identify arms, castors or glides, recline mechanisms, cushion orientation and adjustable positions. Use the positions required by the selected procedure.
Tables and desks
Document extension leaves, folding locks, height adjustment, feet and attached storage. Confirm which configurations the programme evaluates.
Mattresses
Identify construction, size, designated test face and orientation. Confirm the prescribed support and preparation with the laboratory.
4. Treat Conditioning as a Method-Specific Requirement
There is no single temperature, humidity or waiting period that this guide can apply to every furniture test. Obtain the conditioning and test-environment requirements from the selected standard and approved procedure. Where required, record the relevant start and finish times and environmental conditions.
Unpacking, assembly, conditioning and recovery after loading are different activities. For a compressed mattress, obtain the relevant expansion instructions and agree how they interact with the test procedure. For a repaired or newly bonded development sample, record the preparation history and confirm readiness rather than guessing a curing interval.
If the required conditions cannot be achieved, refer the issue to the responsible test authority before proceeding. A delay or an agreed deviation should be visible in the records, not hidden by a generic “room temperature” statement.
5. Prepare Foam Specimens Separately from Finished Furniture
A foam block used for indentation, rebound or compression-set testing is not interchangeable with a complete upholstered seat. Confirm the method-specific dimensions, thickness, cutting location, orientation, surface condition and preparation history before cutting specimens.
Keep each cut specimen linked to its source material and batch. Check whether skins, bonded layers or stacked pieces are permitted in the selected method; do not remove or combine them simply to make the specimen fit. Conditioning, preliminary working and recovery also need method-specific review.
The foam testing equipment range covers different material-test directions. Identify the measurement you need before deciding on specimen preparation or equipment.
6. Check Fit and Loading Access
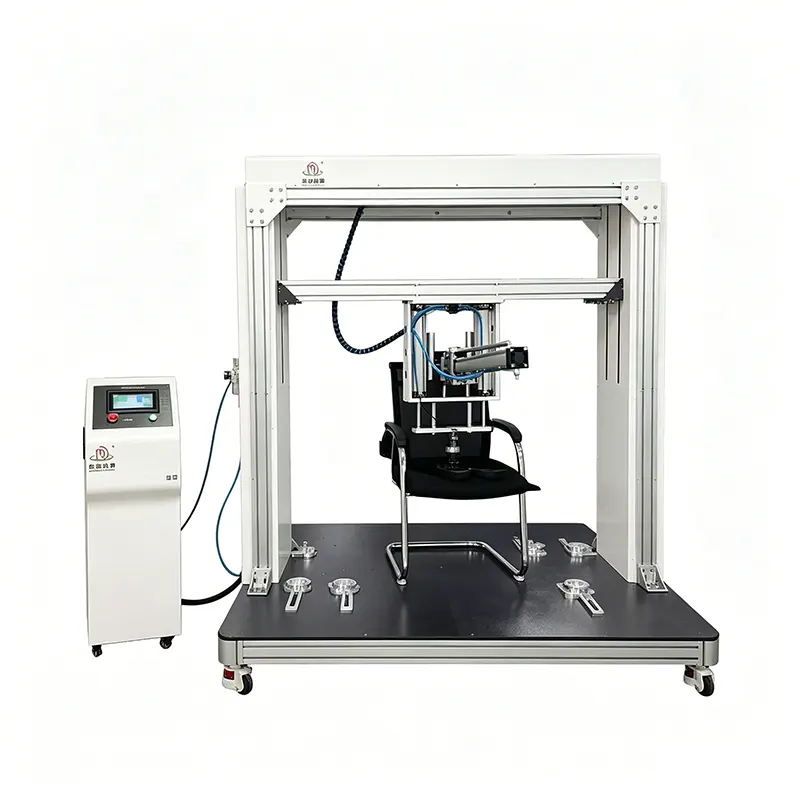
Send drawings or photographs with dimensions, mass, support geometry and adjustable positions. The outer size of the machine alone does not establish whether a sample can be tested. Loading heads, restraints, accessories and the required movement also need clearance.
- Confirm the intended loading locations can be reached without unintended contact.
- Check the required floor, base or support arrangement and permitted restraints.
- Allow access for observations and any specified displacement measurements.
- Confirm handling arrangements for getting the specimen safely into position.
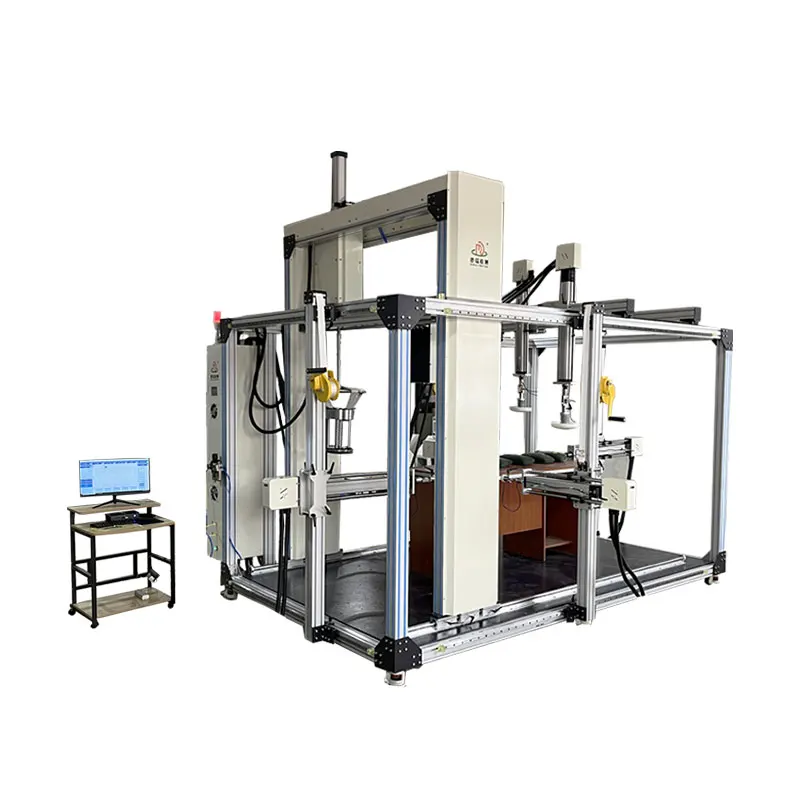
For example, when reviewing a table static load testing system, provide the table’s extended dimensions and underside structure as well as its normal tabletop size. This helps the supplier assess loading access without assuming that a nominal frame size guarantees compatibility.
7. Pack for Transport and Inspect on Receipt
Protect the specimen and identify separately packed parts. Include assembly instructions and a component list, and make the sample ID visible on the packaging as well as the specimen. Agree the delivery condition with the laboratory, especially when disassembly could change an important joint.
On receipt, photograph the packaging and specimen, compare them with the dispatch records and log any damage or missing components. A sample damaged in transit should not automatically enter the planned verification test. Obtain a documented decision on replacement, repair or testing in the received condition, including any limits on interpretation.
Copyable Sample Handover Checklist
- Sample ID; model; production batch; construction revision.
- Prototype, production or modified sample status.
- Intended use; required standard edition; selected test items.
- Sample quantity and allocation to the agreed test sequence.
- Dimensions, mass, materials and adjustable configurations.
- Assembly instructions, hardware list and assembly record.
- Dispatch and receipt photographs; existing defects or damage.
- Required conditioning and preparation records.
- Previous loading, repairs or other relevant sample history.
- Contact for resolving missing information and approving deviations.
For illustration, a table sample record might identify “Sample T-01, revision B, supplied with one extension leaf,” with photographs of the fully extended configuration. That identity record supports traceability; it does not decide which configuration or load the standard requires.
Frequently Asked Questions
How many samples should we send?
Confirm the number from the selected programme, test sequence and laboratory plan. A convenient shipping quantity is not a technical basis for sample allocation.
Can a tested sample be used again?
Only where the selected procedure and test plan permit it. Record prior loading and any damage so later results can be interpreted correctly.
Should we tighten every fastener before testing?
Follow the applicable assembly instructions and test procedure. Do not introduce undocumented changes before or during the test.
Does good preparation guarantee a pass?
No. It makes the specimen and setup better defined. Performance is determined by the actual evaluation against the agreed requirements.
Related Laboratory Guides
Measurement readiness
Furniture Testing Equipment Calibration Checklist for instrument and measurement planning.
Laboratory setup
How to Set Up a Furniture Testing Laboratory for equipment and facility decisions.
Standard selection
Furniture Testing Standards Explained for scope and method guidance.
Sources and Scope Notes
Official references help establish scope; the checklist above is practical preparation guidance. Use the controlled edition and approved laboratory procedure for detailed conditions and sample requirements.
- ISO 7173:2023 describes seating structural strength and durability methods; its scope does not cover upholstery-material durability.
- ASTM D3574 scope reference concerns flexible cellular urethane foams. Confirm the required edition and individual method before preparing specimens.
- BIFMA PC-2020 programme document addresses following assembly instructions and test configurations within that programme. It is not a universal preparation standard for all furniture.